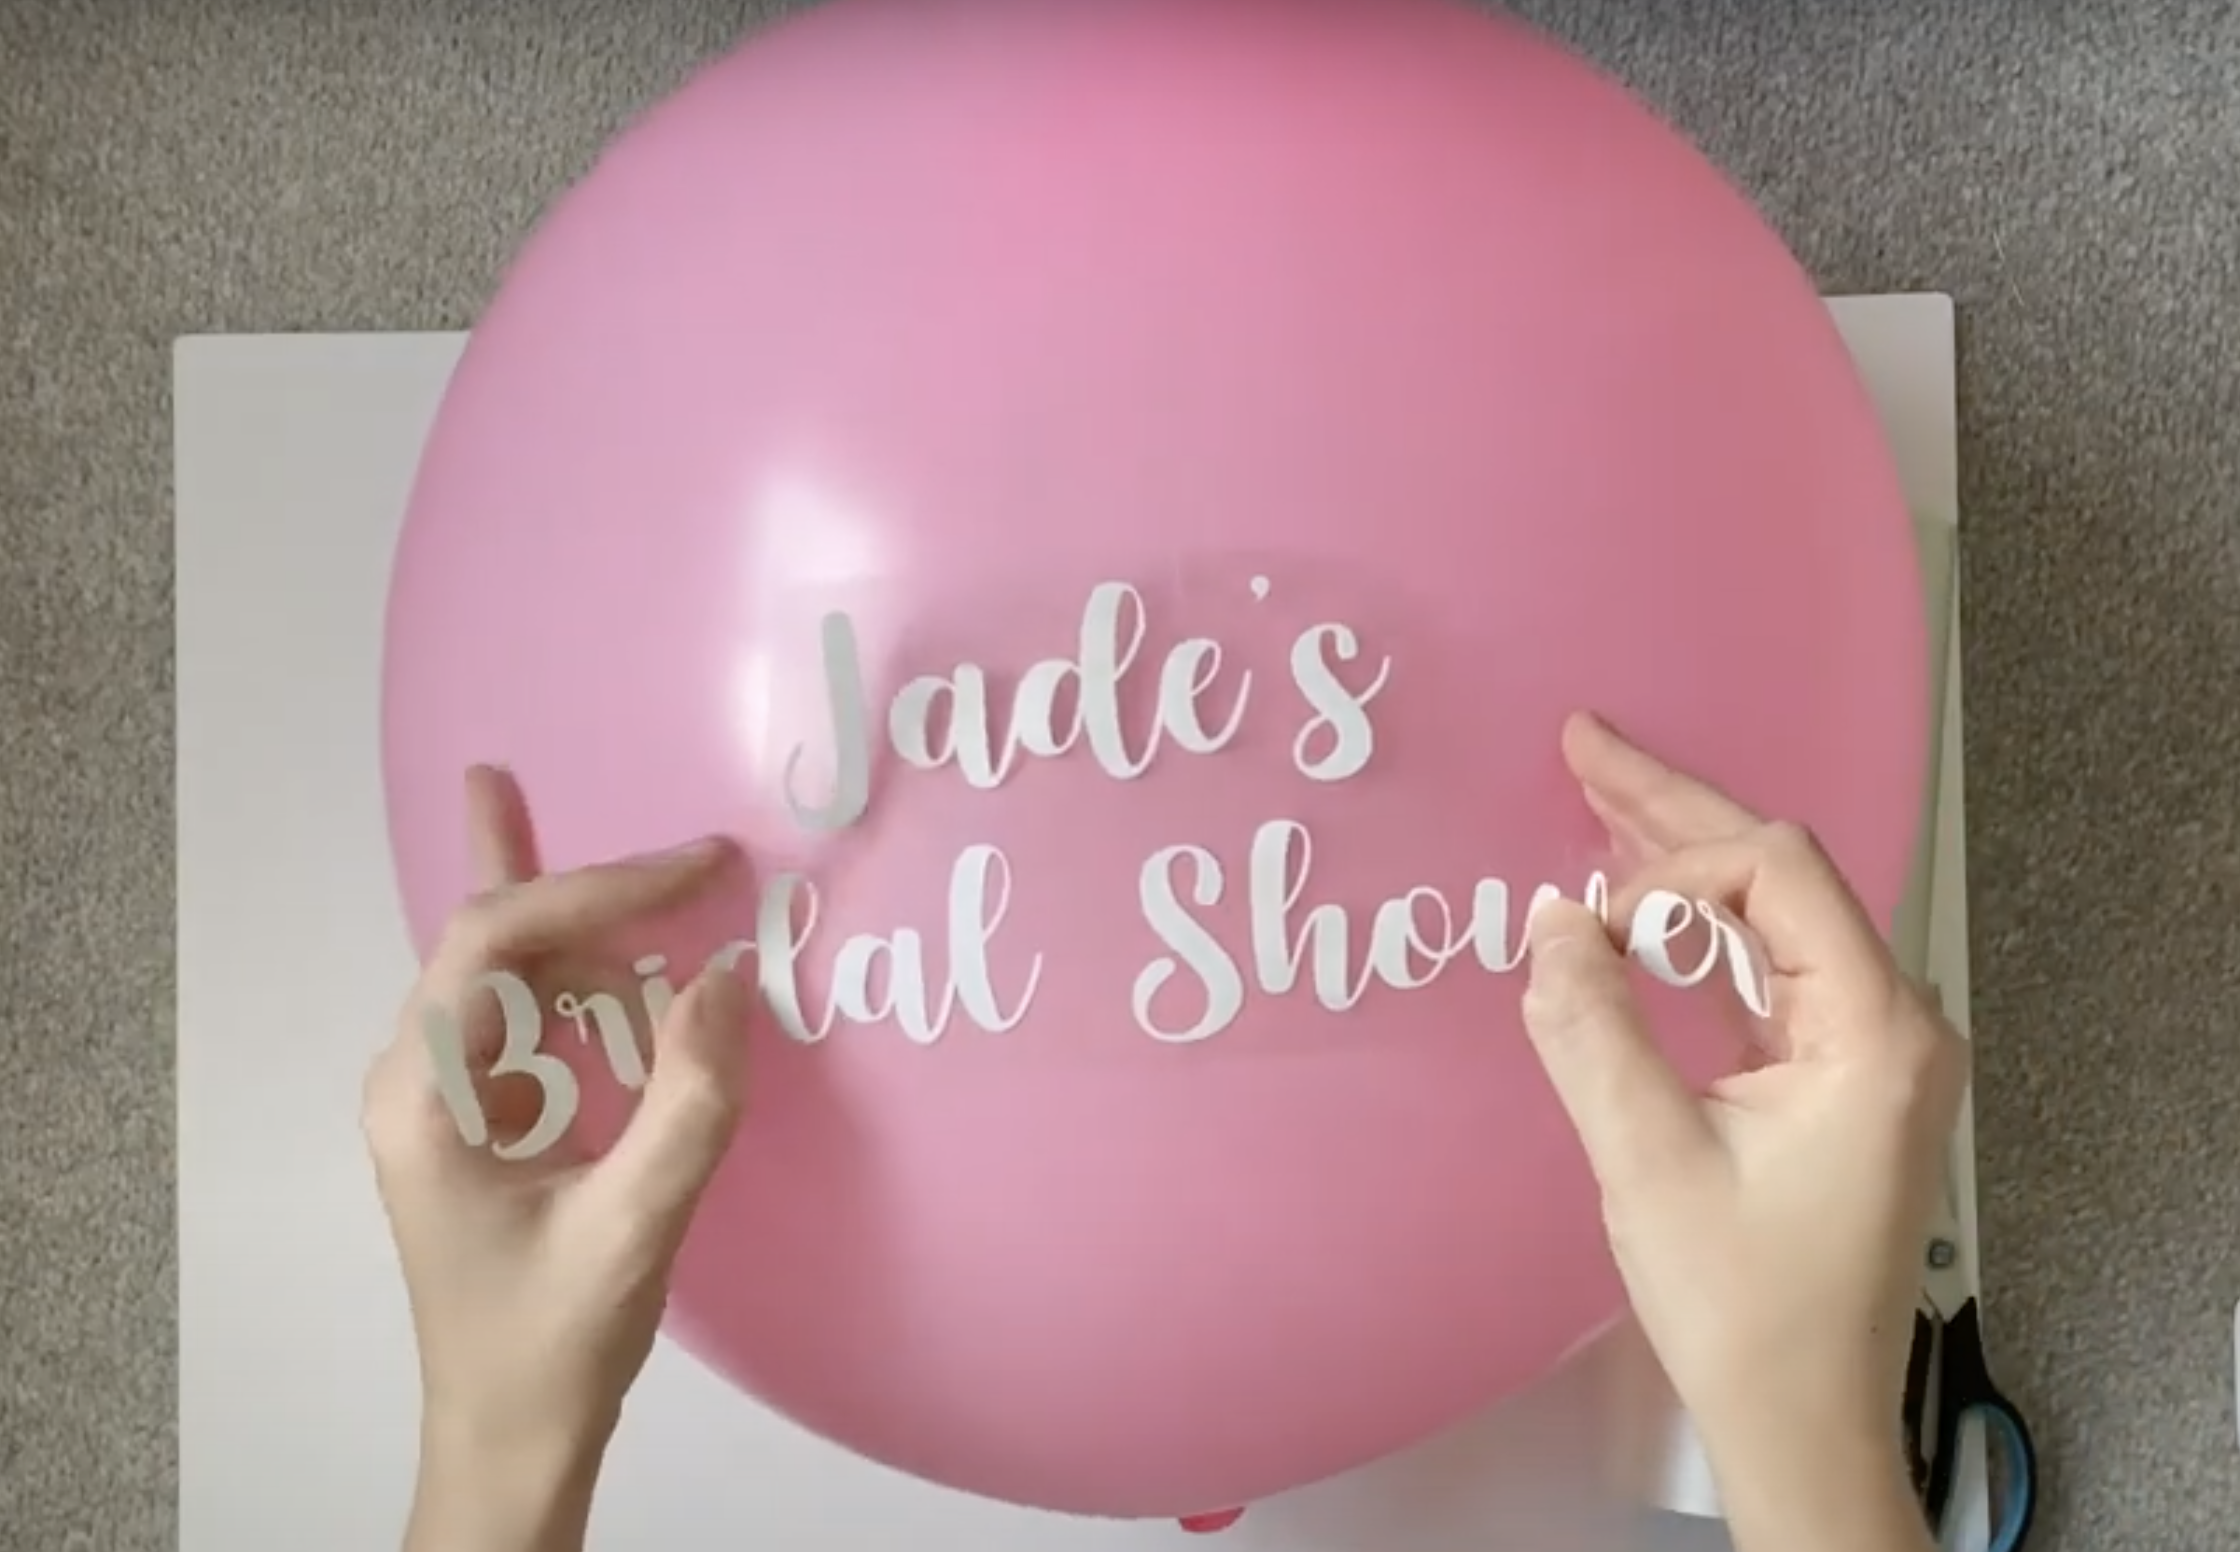
How To Apply Decals To A Balloon
In this post I thought I would show you how to apply vinyl decals to a balloon.
Take a look at my video, or have a read below …
The below content contains affiliate links and we may earn a commission if you shop through them, however, this won't cost you anything, it just helps us to keep the site running for free. For more information on affiliate links, see the disclosure here.
Here’s how to apply decals to a balloon ….
I bought these balloons from Amazon. They are 24 inches in circumference and helium quality so they're quite thick and won’t pop as soon as you put any pressure on them, which is quite important if you want to put vinyl on your balloons.
This is the vinyl I used.
Once you have blown up a balloon, measure the available space to attach your decal, using a flexible tape measure. If you don’t have one of these, you could also use like a strip of paper and then measure that.
I was making a simply designed balloon for a bridal shower so decided on a two line message 11 inches wide and no more than 6-7 inches high.
Weed as normal and apply transfer tape or masking tape to the vinyl (you don't need anything super sticky for balloons ).
Once that's applied just cut as close as possible to your design because the less you need to work with the easier it's going to be.
To help the vinyl bend, also make some cuts into the paper and tape, a few on either side (taking care not to cut into your design). Cut a bit more away around your design if you need to.
Push down all the transfer tape. I always find it easier to turn it over to remove the backing paper away from the tape rather than the other way around.
Push the vinyl on from the middle outwards. I find placing a roll against the balloon helps to prevent it moving around.
Peeling it off may be a bit tricky, however! If you have the option, it may be worth cutting your design into sections before applying to make it easier.
I thought it needed a little bit of something else in the bottom of my design, so I cut out a heart as well just using the transfer tape. I used a thin heart rather than a solid one because I found doing lines a bit easier than full shapes.
You can use the transfer tape to take all of the fluff and stuff off the balloon, which works well and there you go, all done!
It can be a little bit fiddly but it's pretty quick. Just think about the types of designs you're putting on there so they're easy to bend across the balloon, don't put too much pressure on and get good quality balloons.
Please let me know in the comments if there is any other kind of vinyl decal application tutorial you'd like me to do if you're struggling with a certain item.
Remember to ‘like’, ‘subscribe’ and ‘follow’ or more videos like this in future.


